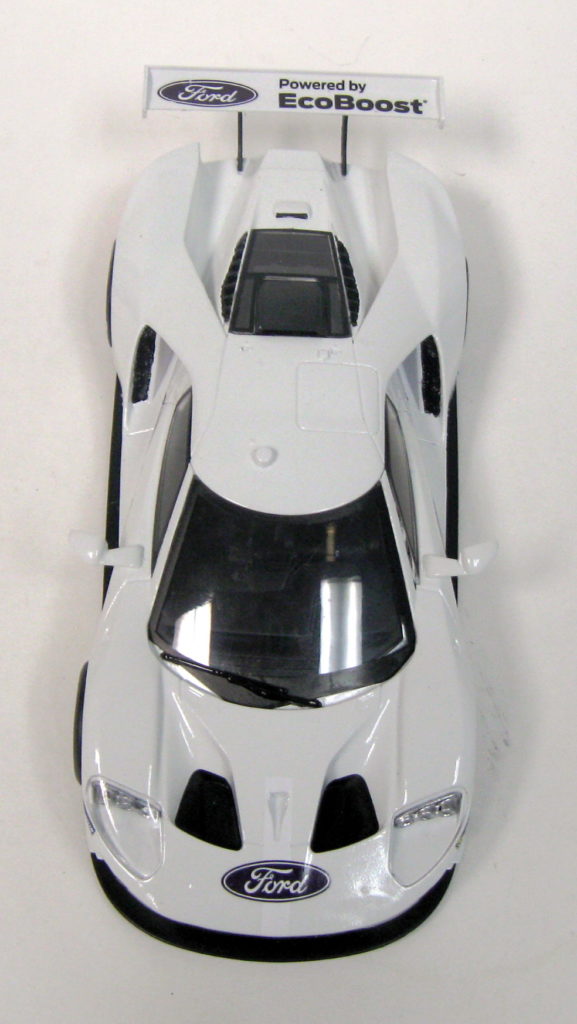
Steve Linngren builds and reviews Revell’s Ford GT-LM
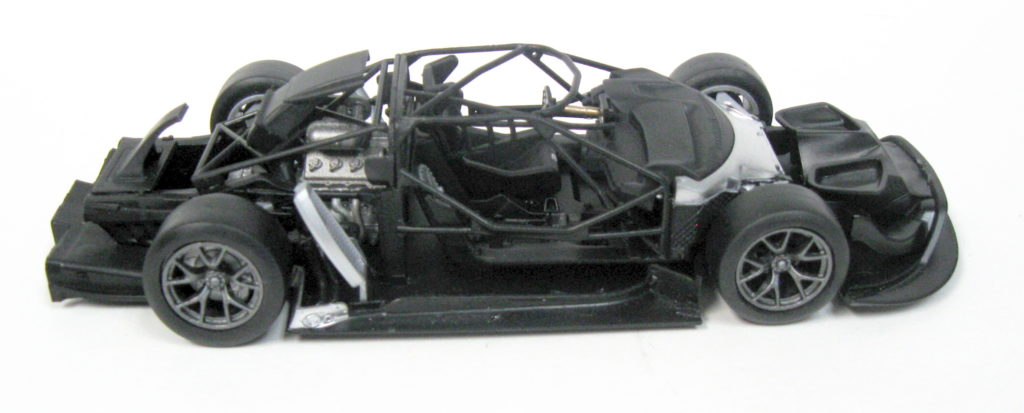
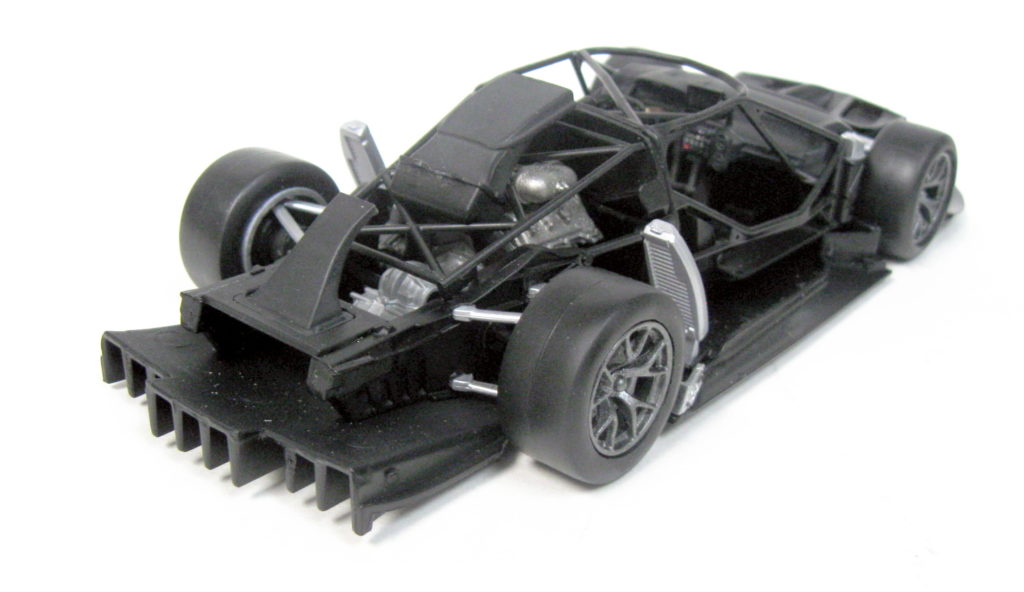
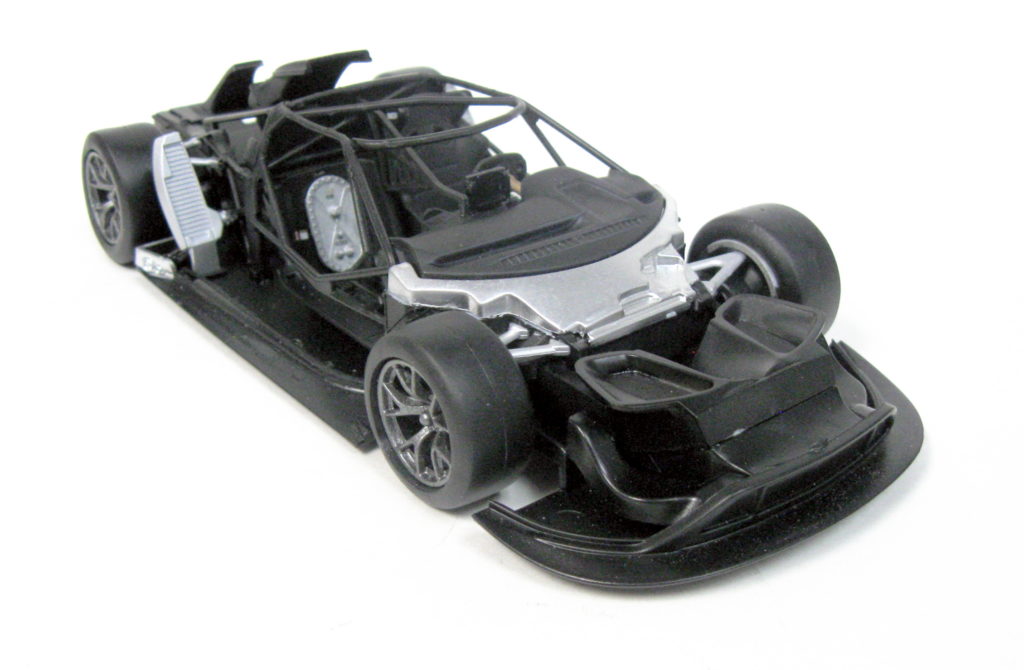
The Revell Ford GT Le Mans 2017 kit is probably the most complex model I have ever built but the comprehensive 44-step instructions played an important role in a successful project.
The 16-page instruction document contains a paint guide that lists the 15 colors required for this build. I studied that paint guide so that I could acquire the colors I did not already have before I began working on the kit. There is also a section that identifies all the parts that make up this kit. The kit contains 101 parts and is cast in white plastic, clear plastic, red plastic and soft rubber. The section titled “Read this before you begin” is also valuable in supporting a successful project. The kit is very well designed and I did not have significant problems with parts fitting together. Nearly all of the parts fit well, but I still used trial fits for all of them to learn how they worked together.
One issue I encountered was with the two-piece body. Because of the long seams, I glued the two main body parts together in phases to simplify the process. After I assembled the two body pieces, I noticed some gaps in the joints and decided to fill them with body putty to improve the appearance.
Another issue appeared after I applied a coat of Duplicolor Automotive Sandable primer to the body. I noticed several very fine mold lines on the front and rear fender tops and the front and rear valances. I sanded them away and proceeded with the finish.
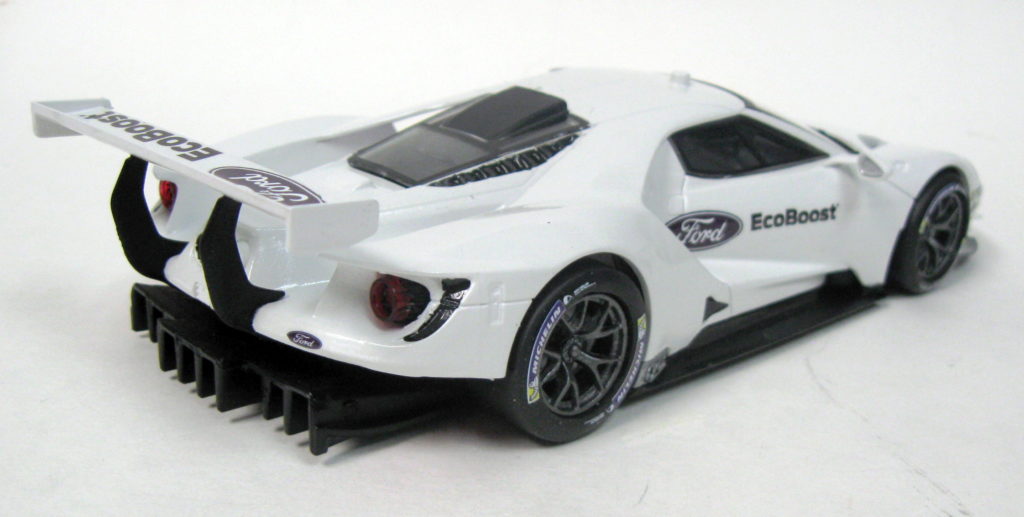
This kit contains many decals to enhance the realism of the model. Since they need to be installed after particular areas have been painted, the order of a few assembly steps had to be changed. Many of the decals are quite small and require real concentration to handle and put in place. I put a small tweezer to good use for that process. In my case, I decided to build the Ford GT Le Mans 2017 kit in how I imagined a street livery would look, and I did not need to apply all the exterior decals.
The body is painted with Duplicolor White Sandable Primer, Duplicolor Ford White, and Rustoleum Crystal Clear. No final polishing was required. Various shades of Tamiya paints were used for interior, chassis, and engine details.
The overall build process proceeded very well, but I did encounter difficulties installing parts number 49 (rear intake top), 53 (left turbo exhaust) and 54 (right turbo exhaust) because of their tight fits. The rest of the project was routine and I am pleased with the outcome. This is a well-designed, well-detailed, high quality kit that produces a very good replica of the 1:1 automobile.

